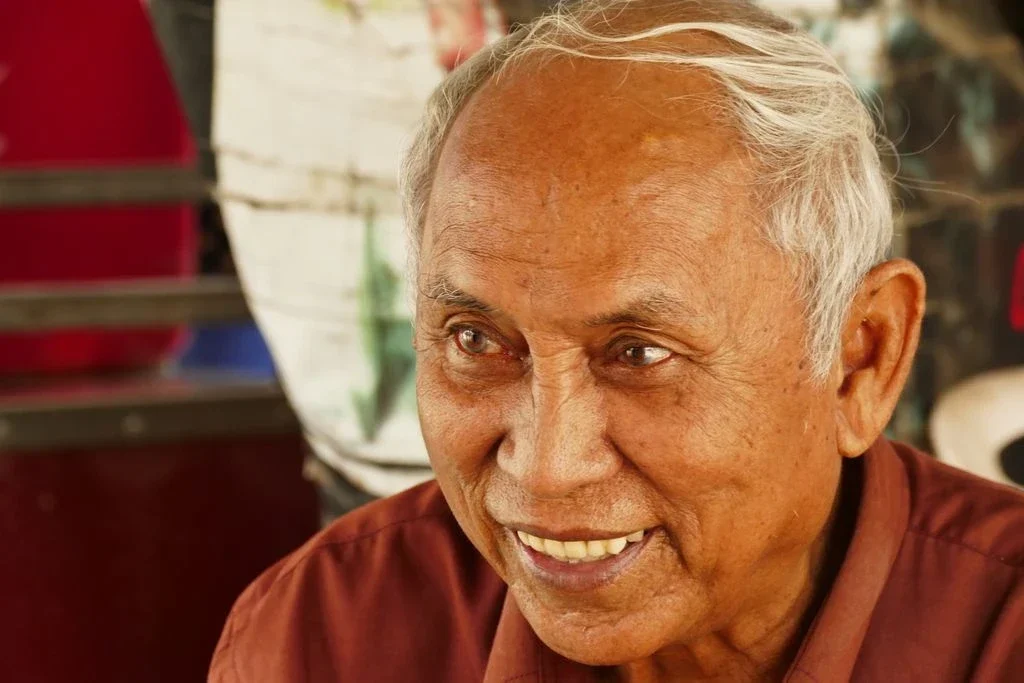
Three restrained whitening levels
Start with natural, choose subtle for a barely visible lift, or bright for a stronger but still realistic finish.
Gently brighten visible natural teeth in your portrait. Choose subtle, natural or bright while keeping your original smile and recognizable features.
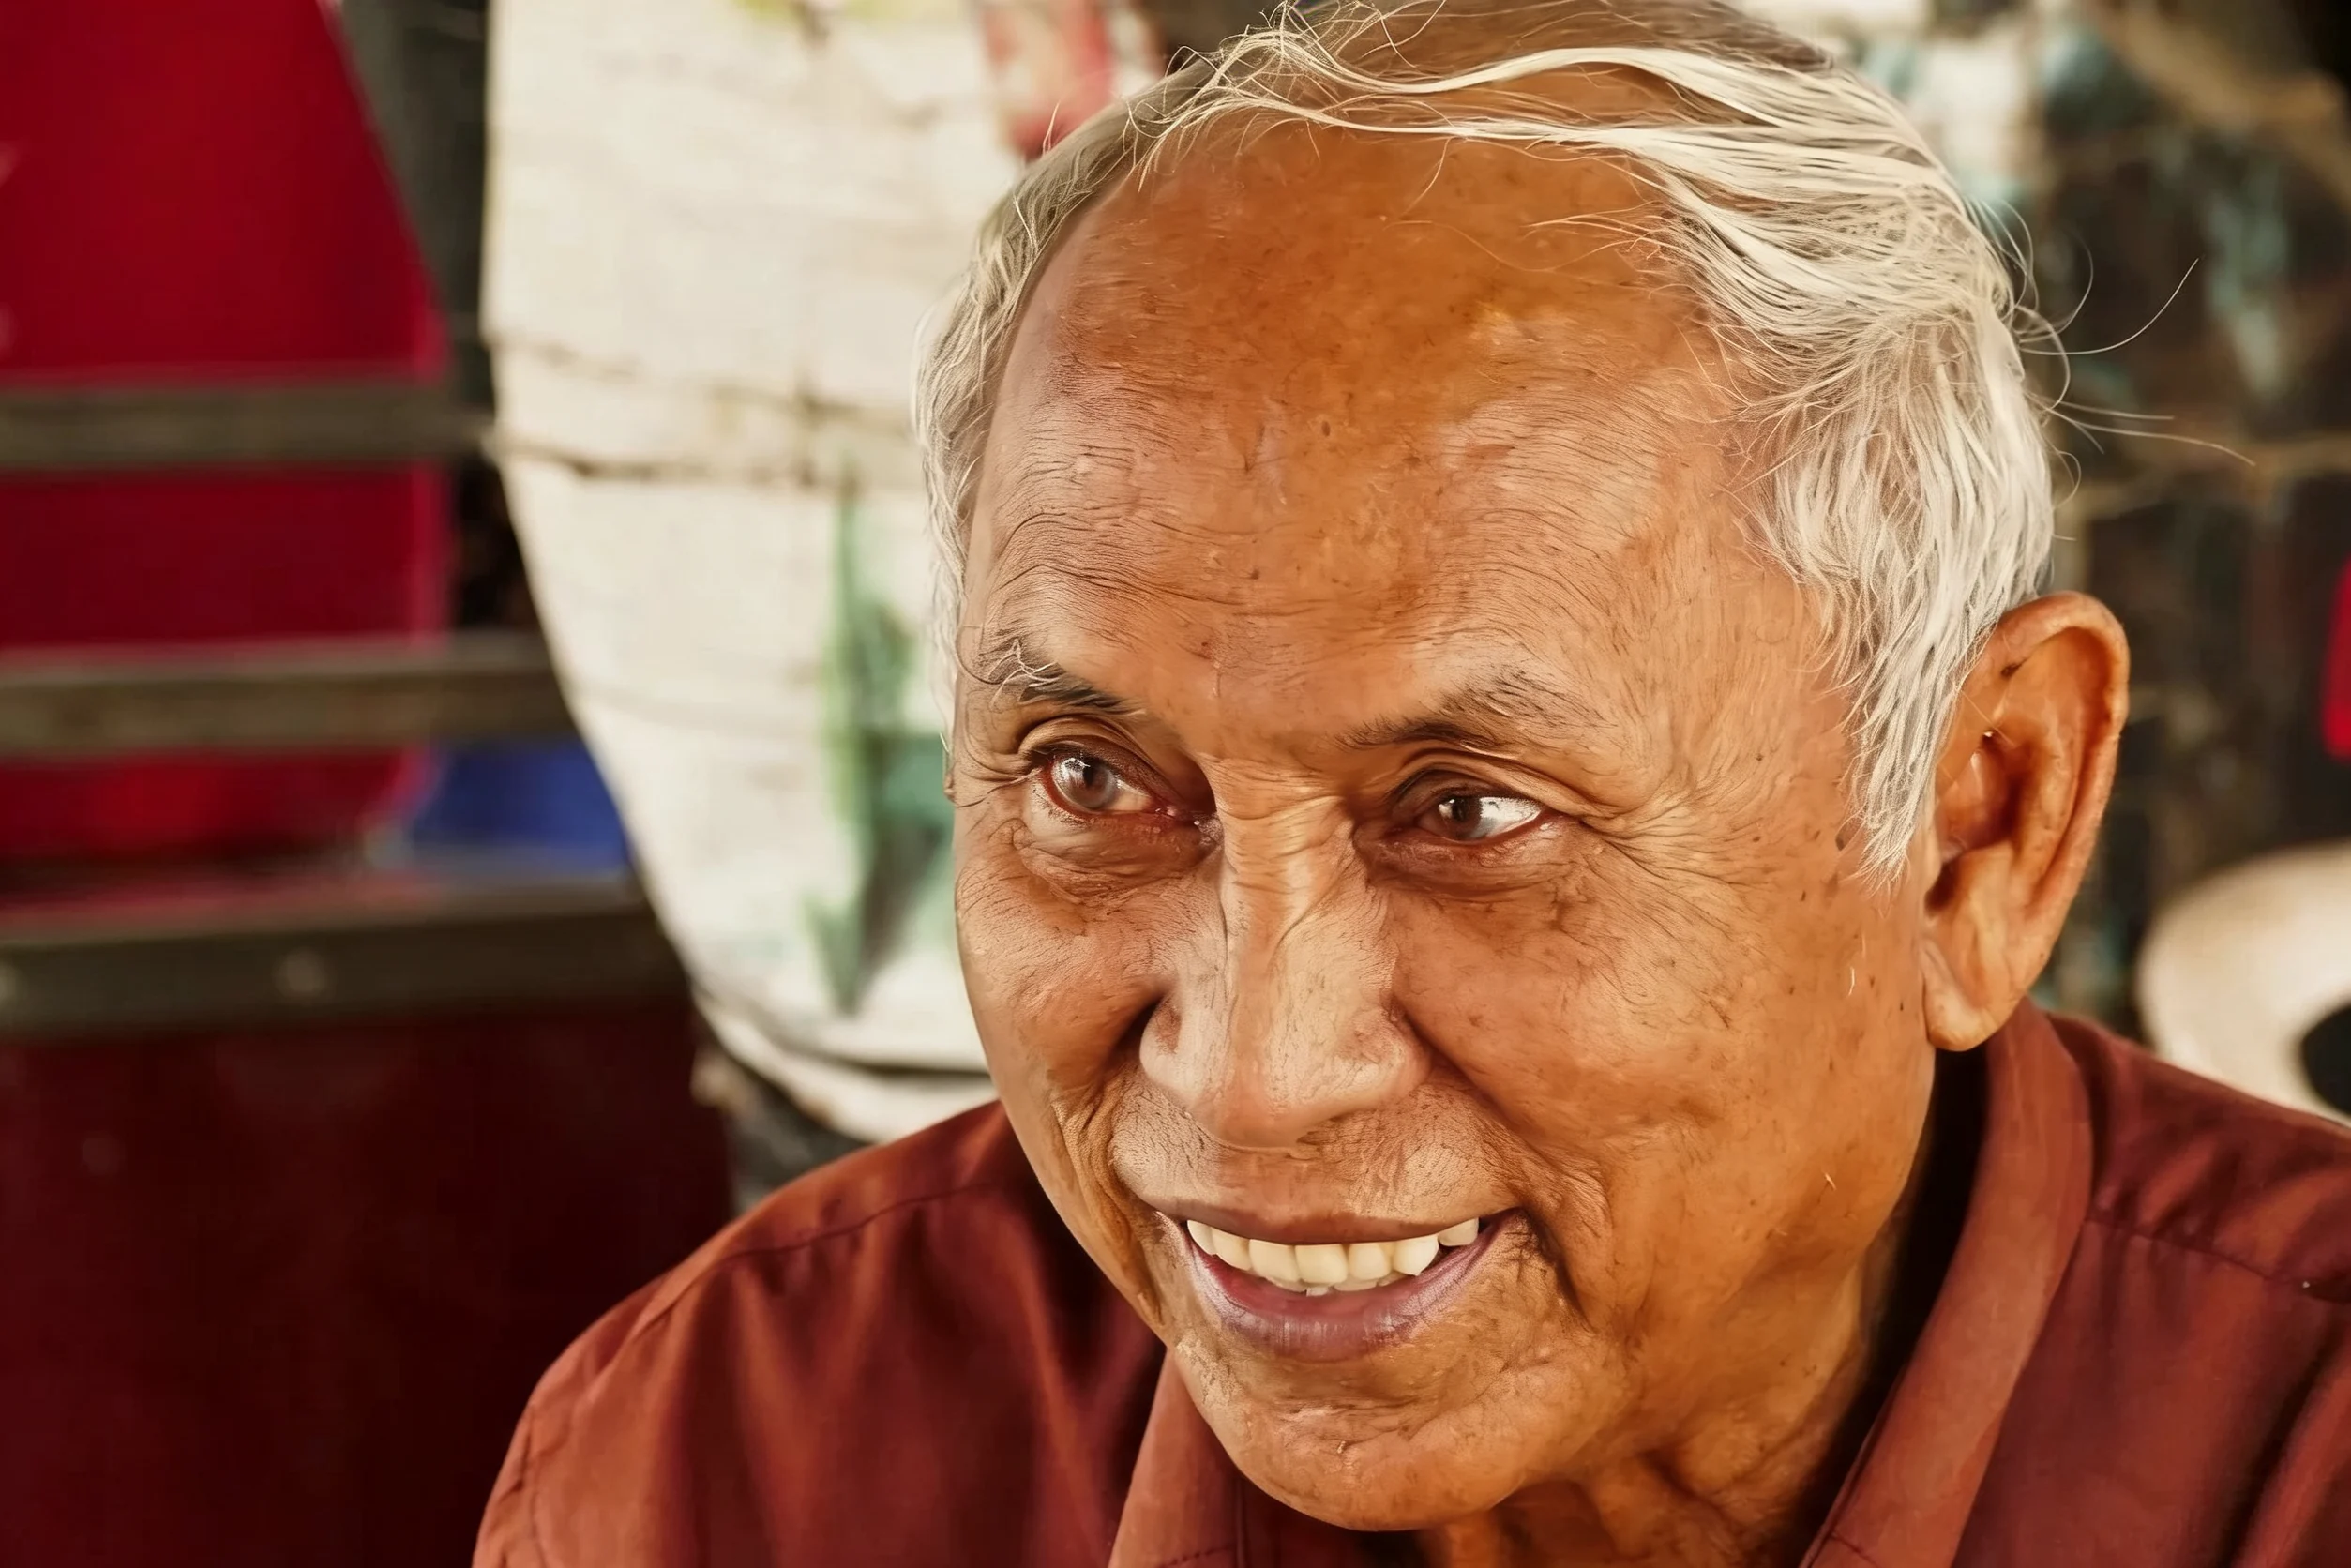
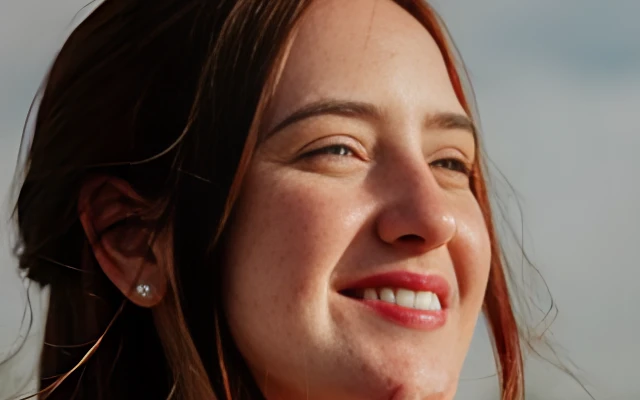
Before and after of modest natural teeth whitening on a personal portrait. Identity, smile shape, and skin stay the same; only the visible tooth shade is gently brightened.
Verified Seedream production-model example (natural intensity). Results vary with lighting, tooth visibility, and chosen intensity.
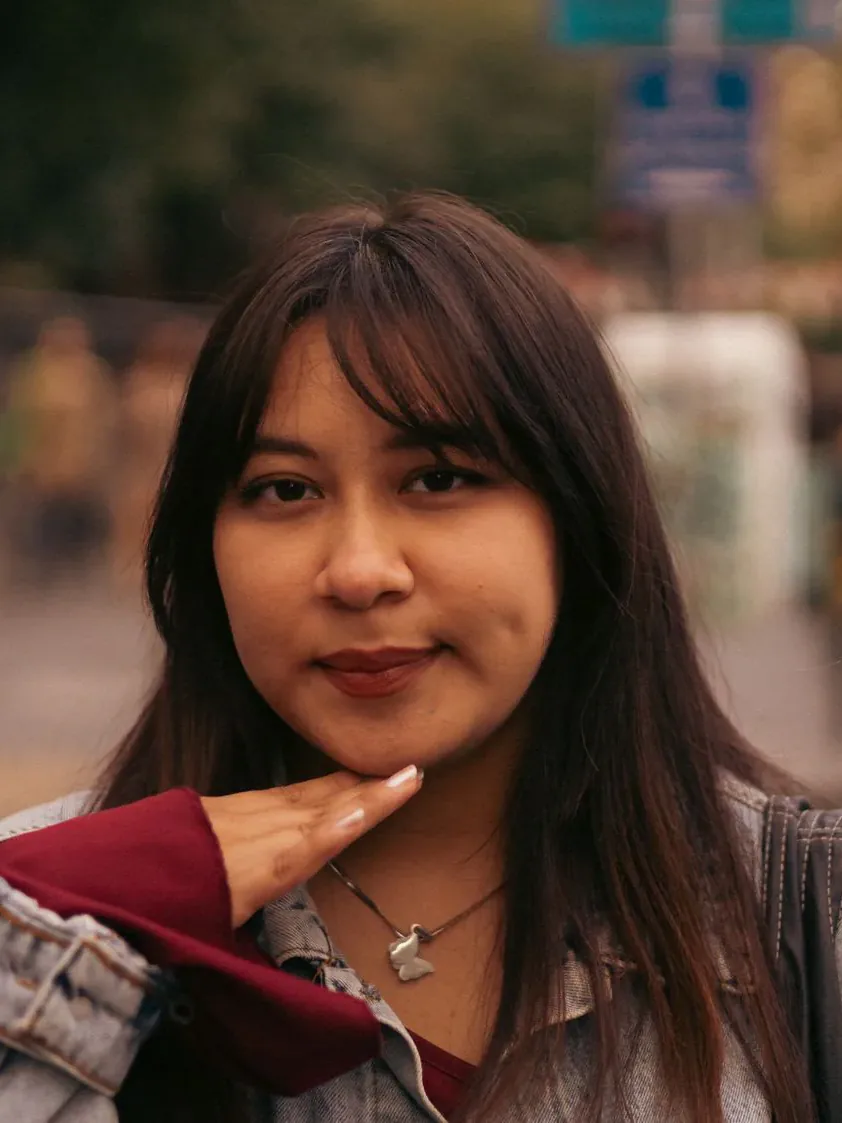
Everyday personal portrait workflows — restore a print, set background and light, retouch makeup and hair, then finish a career headshot.
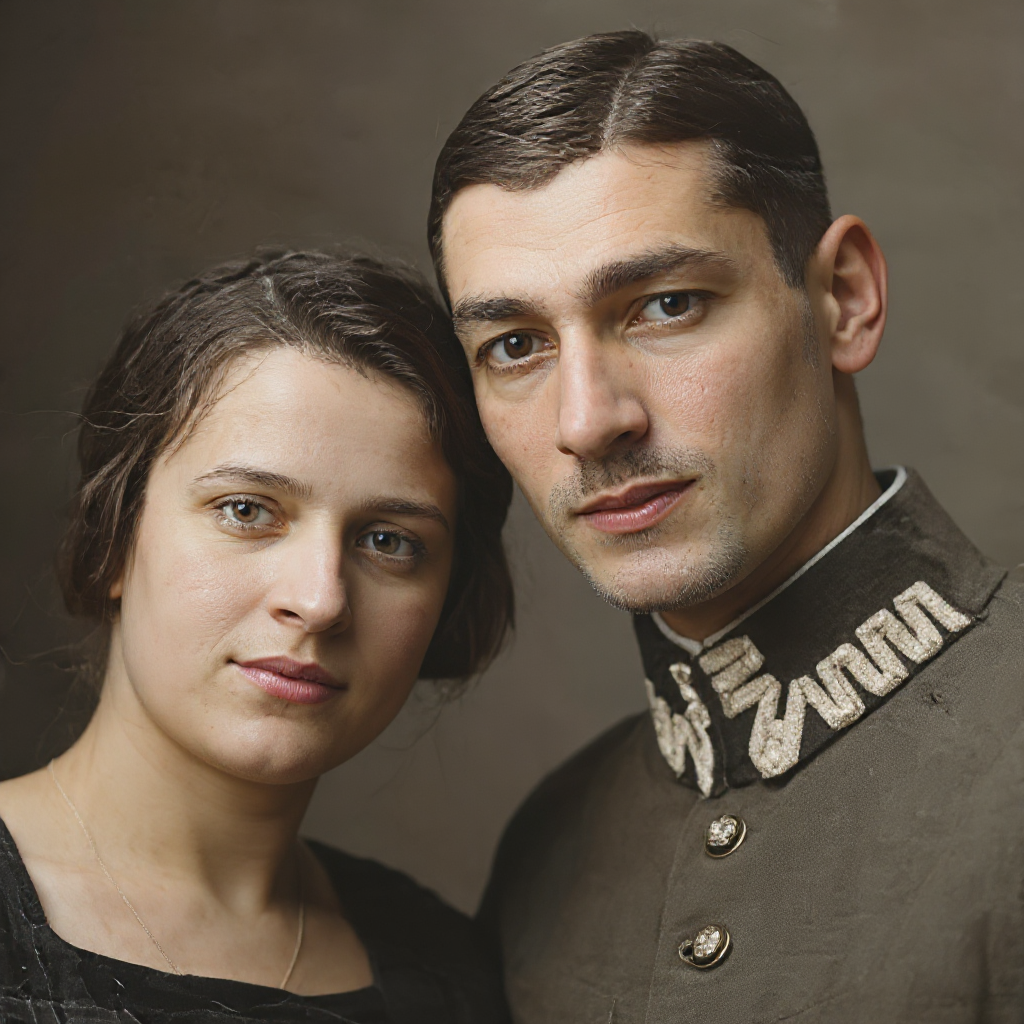
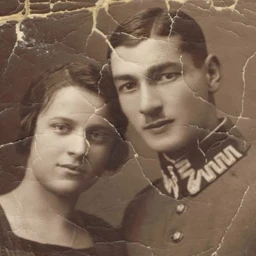 Before
 Before

 Before

 Before
Upload an authorized photo, choose the intensity, then compare before downloading.
Use a JPG, PNG or WebP with natural teeth clearly visible. Choose a photo of yourself or someone who consented.
Natural is the default. Choose subtle or bright if needed, and keep the original aspect ratio or select another format.
Compare tooth shade, dental anatomy, gums, lips and identity with the original. Download only a result you are comfortable sharing.
Focused tooth-shade editing for personal portraits, profile photos and headshots.
Start with natural, choose subtle for a barely visible lift, or bright for a stronger but still realistic finish.
The tool is instructed to preserve lip shape, gum color, tooth shape, spacing and identity. It should not open a closed mouth or redesign your teeth.
Use Teeth Whitening for tooth shade, Face Retoucher for skin, and Makeup Polish for soft everyday makeup.
Natural results, consent, credits and choosing between portrait tools.
Start with natural intensity on a portrait you are authorized to edit.